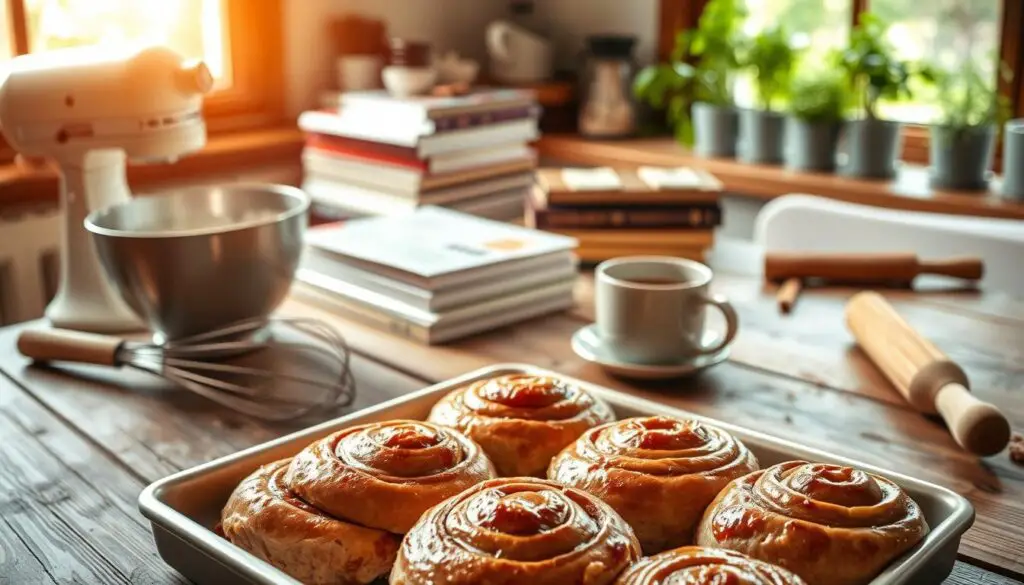
Imagine waking up to the warm, sweet smell of sticky buns. It’s a simple joy that brings back happy memories. These no-fuss sticky buns are more than just a treat; they’re a way to connect with loved ones.
With just a few ingredients and a quick recipe, you can make these delicious buns. They’re sure to impress everyone. Enjoy the simple pleasure of homemade sticky buns, where ease meets taste.
Key Takeaways
- This no-fuss sticky buns recipe is designed for simplicity and ease.
- Perfect for breakfast or dessert, these easy sticky buns will impress anyone.
- Utilize commonly found ingredients for homemade sticky buns.
- Quick preparation means more time to enjoy the sweet moments.
- Cooking these buns can create lasting memories with family and friends.
Introduction to Sticky Buns
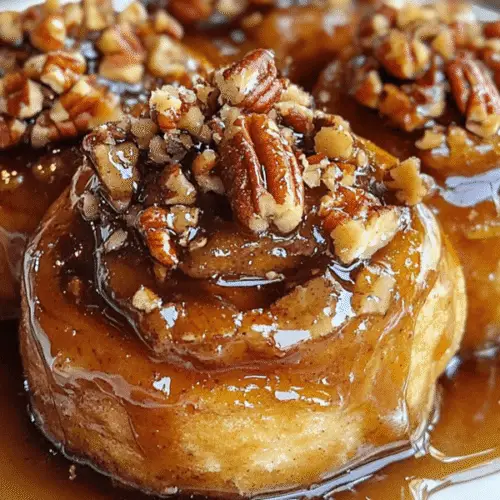
Sticky buns are a sweet treat with a rich history. They have evolved over time, becoming a favorite in many homes. You might ask, what are sticky buns? They are soft, sweet rolls covered in a caramel, nut, and spice mix.
The history of sticky buns is diverse, influenced by many cultures. Each culture has added its own twist, making them a beloved treat worldwide.
Sticky buns have won the hearts of many across generations. Their aroma is often a sign of special times or family gatherings. Exploring their history shows how they bring joy to both big celebrations and simple snacks.
Sticky buns are irresistible, whether hot from the oven or enjoyed later. Learning about their history deepens our love for these treats.
What Makes This Recipe No-Fuss?
This sticky bun recipe is easy and quick, great for beginners. It uses refrigerated crescent rolls to save time. This means you can make a tasty treat without much effort.
The ingredients are simple, so you won’t have to search for special items. The instructions are clear and easy to follow. This makes baking fun and rewarding, even if you’re new to it.
| Feature | No-Fuss Recipe |
|---|---|
| Prep Time | 10 minutes |
| Baking Time | 20-25 minutes |
| Skill Level | Beginner baking friendly |
| Key Ingredients | Refrigerated crescent rolls, sugar, cinnamon, butter |
| Cleanup | Minimal |
Step by Step No-Fuss Sticky Buns Recipe
Making your own sticky buns is easy with the right steps. This recipe has all you need to make delicious sticky buns.
Ingredients You’ll Need
- 1/2 cup packed light brown sugar
- 3 tablespoons butter, divided
- 1 tablespoon light corn syrup
- 3/4 cup chopped pecans
- 1 (8-ounce) package refrigerated crescent rolls
- 1 teaspoon ground cinnamon
Instructions
Baking Your Easy Sticky Buns
Baking sticky buns can be a fun experience. With the right tips, your homemade buns will be perfect. Knowing when they’re done is key to avoid common mistakes.
Tips for Checking Doneness
Check your sticky buns for a golden-brown top and a lightly puffed dough. Use a toothpick to check the center. If it’s clean, they’re ready.
How to Avoid Overbaking
To keep your buns soft and gooey, watch the baking time closely. Don’t wait for them to look too browned. Remember, they’ll keep cooking a bit after you take them out.
Homemade Sticky Buns: A Sweet Treat for Everyone
Homemade sticky buns add warmth and joy to any kitchen. They’re perfect for family brunches or cozy afternoons. These pastries are easy to make and loved by all, making them ideal homemade desserts.
Working on sticky buns with loved ones is a fun experience. It’s exciting to see ingredients mix and dough rise. Sharing the finished buns brings joy and creates lasting memories.
Homemade sticky buns use simple ingredients, making them a treat for any day. Your family will love the effort you put into making them. Why not spend an afternoon baking together? The sweet smell and laughter will fill your home.
Variations on the Classic Recipe
Sticky buns can be made to fit different diets and tastes. By trying new things, you can make sure everyone enjoys these sweet treats. You’ll learn how to make nut-free sticky buns and find recipes with unique flavors.
Nut-Free Options
For those with nut allergies, making sticky buns is easy. Just swap out the nuts for other tasty toppings. Try adding:
- Raisins
- Dried cranberries
- Chopped apples
- Chocolate chips (make sure they’re nut-free)
- Seeds like sunflower or pumpkin
These options are perfect for family-friendly recipes. They’re safe and delicious for everyone.
Adding Different Flavors and Ingredients
Want to make your sticky buns special? Try new flavors that match your style or the season. You can add:
- Ground cinnamon, nutmeg, or ginger for a cozy taste
- Citrus zest, like lemon or orange, for a fresh twist
- Maple syrup instead of brown sugar for sweetness
- Coconut flakes for a chewy texture
These changes make your sticky buns truly unique. Enjoy making them your own!

Storing and Reheating Your Sticky Buns
After baking your sticky buns, how you store them is key to keeping them fresh. Proper storage helps keep them soft and flavorful. This way, you can enjoy them for days. Here are some tips for storing your sticky buns to keep them fresh.
Best Storage Practices
To keep your sticky buns delicious, follow these steps:
- Let the buns cool completely before storing.
- Put them in an airtight container or wrap them tightly in plastic wrap to keep air out.
- For longer storage, refrigerate them. This keeps baked goods fresh for up to a week.
- If storing at room temperature, keep them in a cool, dry place away from sunlight.
Knowing how to store your sticky buns can make them last longer. It also helps keep their flavor.
How to Reheat for Best Taste
When it’s time to enjoy your sticky buns, reheating them makes them gooey again.
Here are some ways to reheat them:
- Oven Method: Preheat the oven to 350°F (175°C). Wrap the buns in foil and warm them for 10-15 minutes. This method is great for warming pastries and bringing back their original texture.
- Microwave Option: Place a bun on a microwave-safe plate and cover it with a damp paper towel. Heat for 15-20 seconds for a quick fix.
- Steamer Technique: If you have a steamer, this method gently warms the buns while keeping them moist. It ensures they stay deliciously irresistible.
Make Sticky Buns at Home: A Perfect Weekend Project
Creating sticky buns at home is a great weekend activity for families. It’s a chance to have fun together in the kitchen. You’ll laugh and make memories while enjoying a tasty treat.
These recipes are easy to follow, so you won’t spend all day preparing. They’re perfect for both new and experienced bakers. You can add nuts, spices, or other flavors to make them your own.
These baking projects not only make a great snack but also create lasting memories. Enjoying sticky buns fresh or later is a wonderful way to spend time together.

| Activity | Benefits |
|---|---|
| Baking Sticky Buns | Fosters family bonding, encourages creativity, delicious end result. |
| Measuring Ingredients | Teaches math skills, promotes teamwork, enhances focus. |
| Tasting Together | Celebrates teamwork, provides instant gratification, encourages discussions about flavors. |
Why You Should Try These Delicious Sticky Buns
Baking sticky buns at home is truly special. The smell of fresh baking fills your kitchen, making it cozy. Plus, making your own treats lets you add a personal touch that store-bought ones can’t.
These dessert recipes are not just tasty; they’re also good for you. By baking at home, you can pick the best ingredients. This means you can choose organic or fresh options that fit your diet.
Sharing homemade sticky buns at gatherings makes any event better. Whether it’s brunch with friends or a family dinner, your treats make everyone feel special. Seeing your loved ones enjoy your baking brings joy like nothing else can.
Another great thing about making these treats at home is the money you save. You spend less than buying pastries from bakeries. Plus, the joy of pulling warm, gooey sticky buns from the oven is unbeatable.
Try making these irresistible sticky buns and enjoy every bite. You’ll not only love the taste but also the effort you put into making them. Enjoy the process and relish the delightful rewards that follow.
Conclusion
Making sticky buns at home is a rewarding experience. Just a few simple steps can fill your kitchen with a sweet aroma. This gives you a sense of satisfaction that store-bought treats can’t match.
This recipe shows the joy of homemade baking. It lets you try different flavors and make it your own. Whether you stick to the classic or try something new, it’s easy to make again and again.
By making these sticky buns, you’ll improve your baking skills and create tasty memories. Start your baking journey today and make your next project unforgettable!
If you’re feeling inspired to explore more creative and comforting pastries, try our Banana Bread Cinnamon Rolls for a delightful twist on tradition. Craving something fruity and unique? The Peach Pie Cruffins offer a gorgeous blend of croissant texture and pie flavor. And for dessert lovers who want a quick, gooey fix, our Caramel Apple Roll Dump Cake is an irresistible follow-up to today’s sticky buns.
Want something indulgent and playful? Don’t miss the Oreo-Stuffed Cinnamon Rolls or the Jam Coconut Dream Bars—perfect for any sweet occasion.
No matter which recipe you try next, remember: the best moments often start with a little sugar and a lot of love.

No-Fuss Sticky Buns
Ingredients
- 1/2 cup packed light brown sugar
- 3 tablespoons butter divided
- 1 tablespoon light corn syrup
- 3/4 cup chopped pecans
- 1 8-ounce package refrigerated crescent rolls
- 1 teaspoon ground cinnamon
Instructions
- Preheat your oven to 375°F (190°C) and grease an 8-inch square baking dish with cooking spray.
- In a small bowl, mix 1/4 cup brown sugar, 2 tablespoons butter, and corn syrup until smooth. Spread this mixture in the bottom of the prepared baking dish. Sprinkle with 1/2 cup pecans.
- Unroll the crescent dough and press the seams together to form a large rectangle. Brush with the remaining 1 tablespoon of butter. Sprinkle with the remaining 1/4 cup brown sugar, cinnamon, and the remaining 1/4 cup pecans.
- Roll up the dough jelly-roll style, starting at a wide end. Use a sharp knife to cut it into 9 equal slices. Place each slice cut-side down in the baking dish.
- Bake for 18 to 20 minutes until puffed and golden. Remove from the oven and immediately invert onto a serving platter. Be cautious as the melted sugar is very hot. Allow it to cool slightly before serving warm.
Notes
For an extra touch, serve with a dollop of whipped cream or a scoop of vanilla ice cream.

