
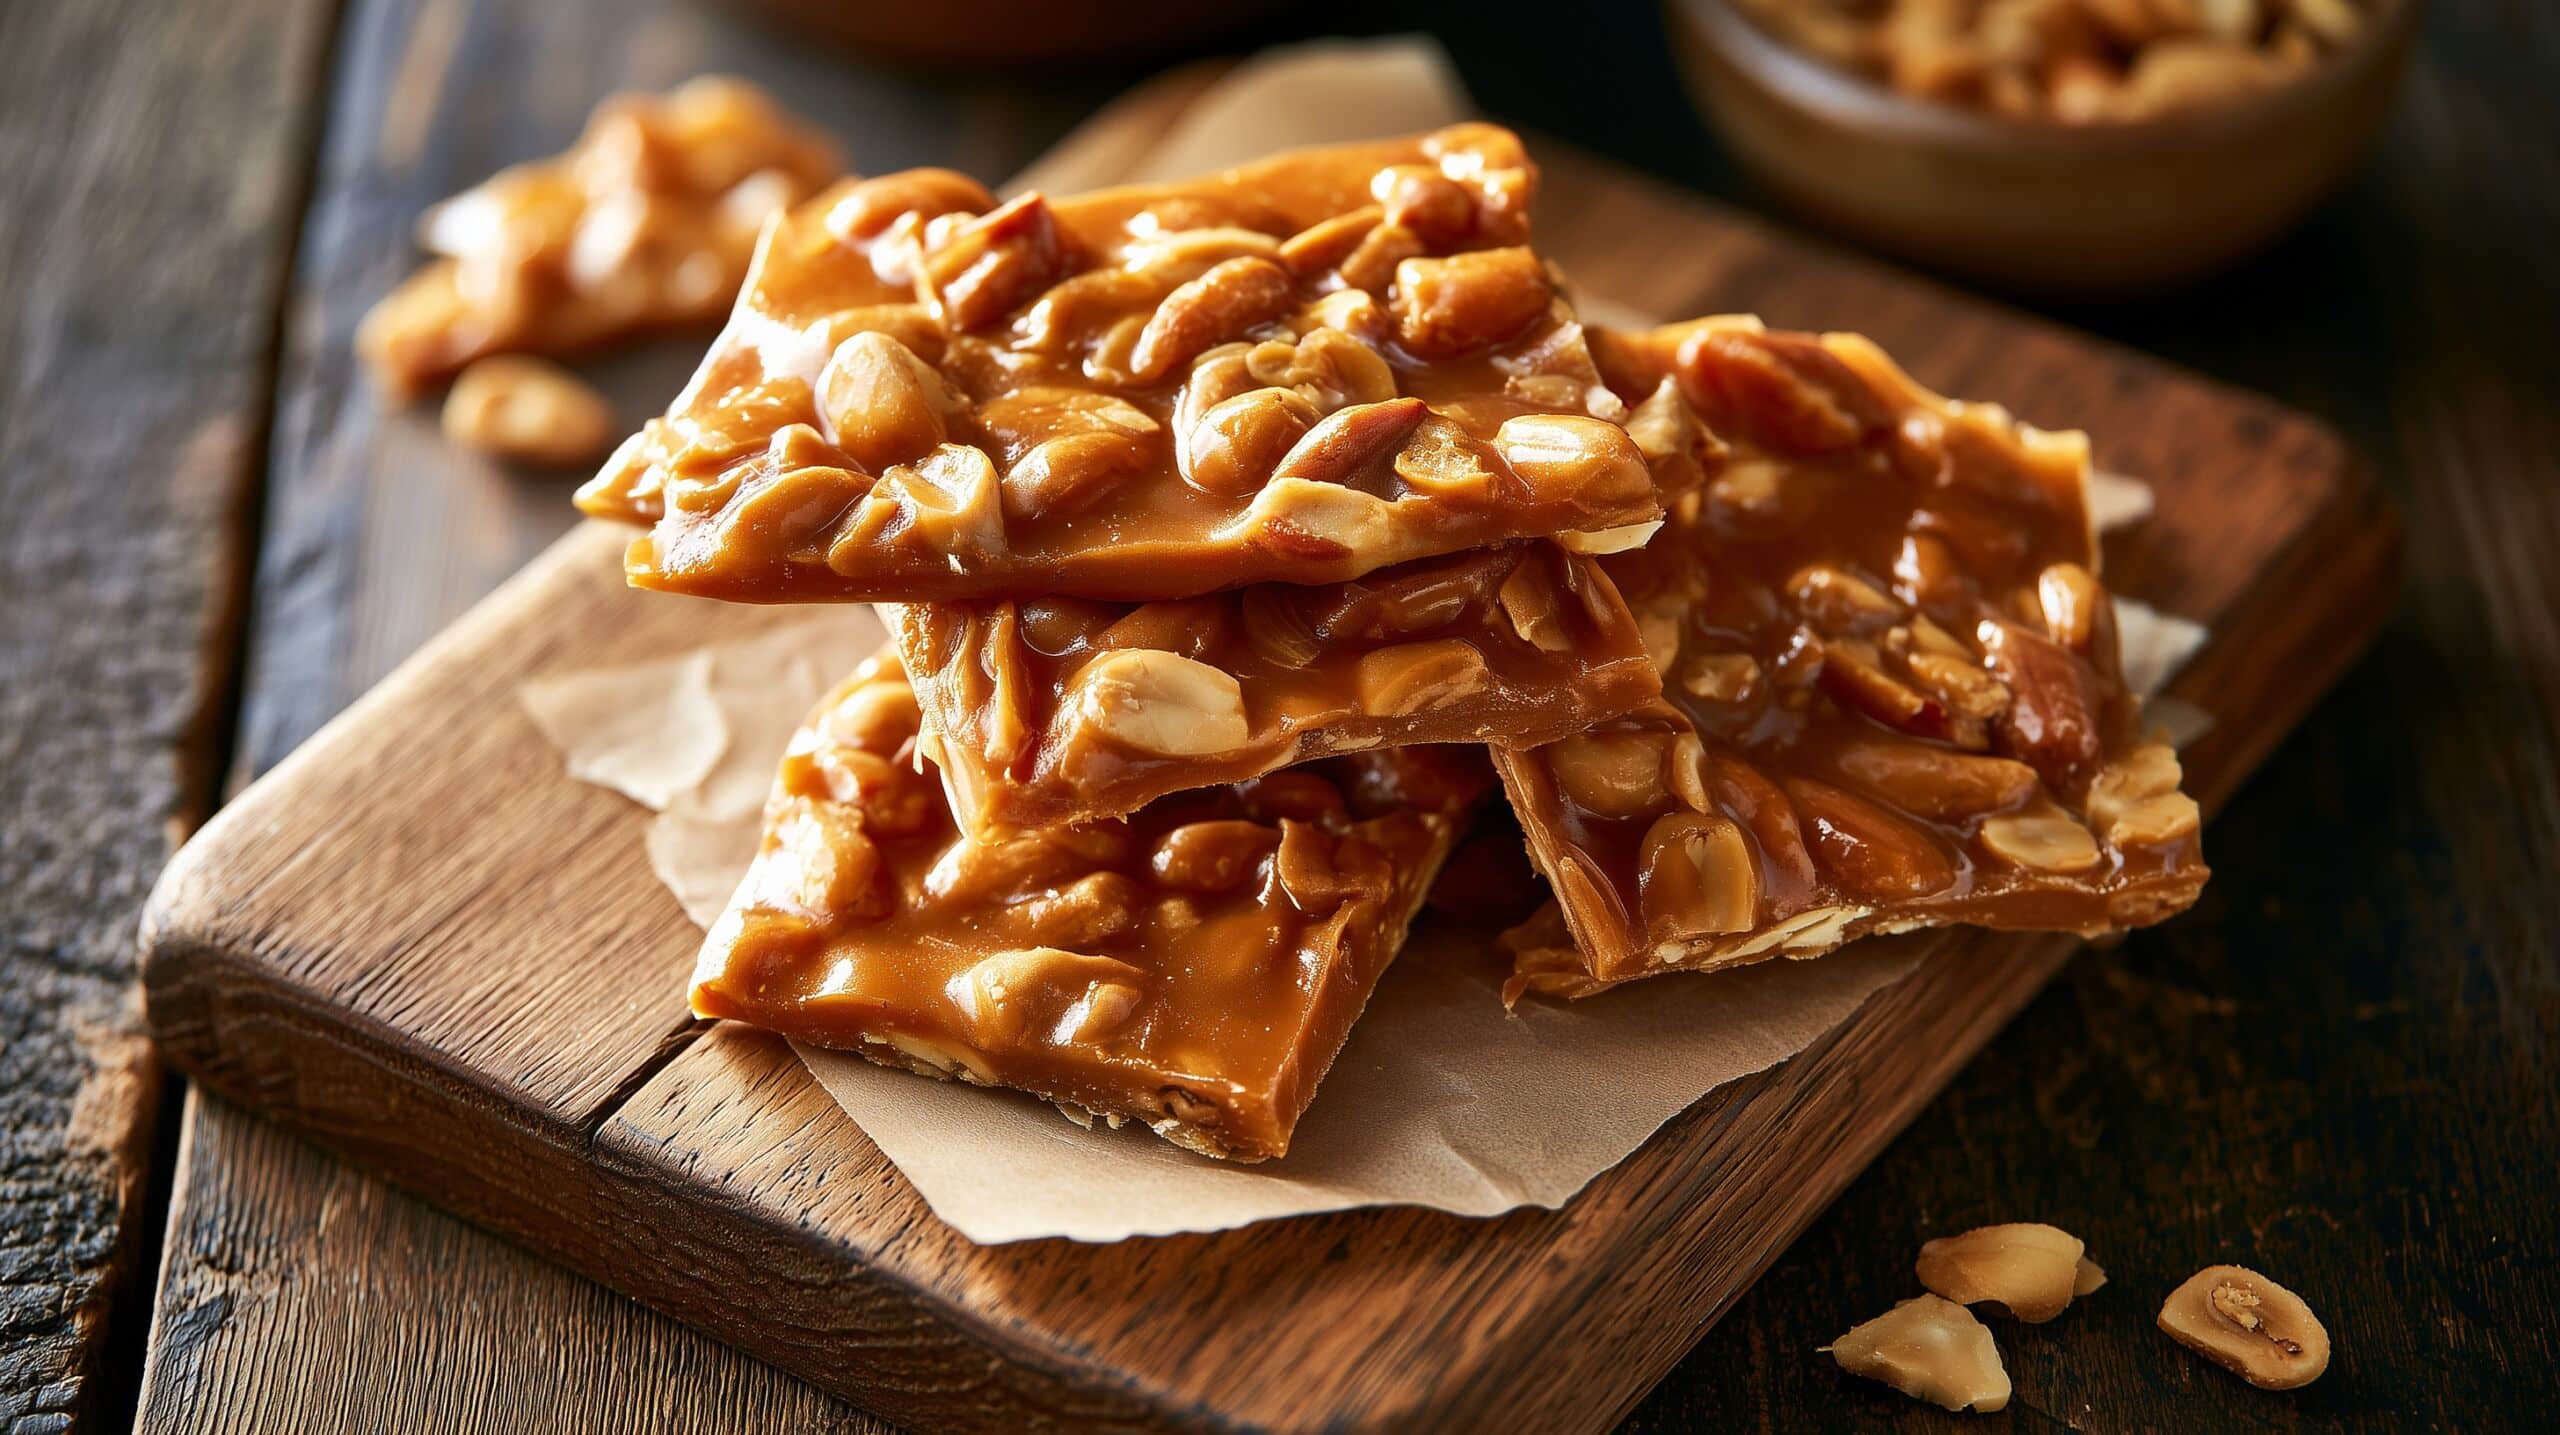
Classic peanut brittle is a shatteringly crisp, buttery-sweet stovetop candy, packed with roasted peanuts and suited to first-time candy makers as well as holiday gift-givers. Simple ingredients and a candy thermometer make this old-fashioned treat approachable, even for your first batch.
Prep takes 5 minutes, and the cook time is 25 minutes, so you’ll spend about 30 minutes at the stove. The total time is about 1 hour, including cooling, and the recipe makes about 1 pound, or 12 servings. A few simple tips help you make crisp candy without guesswork. Pack pieces in tins or cookie boxes for a homemade holiday gift.
A popular legend says a Southern woman accidentally invented brittle around 1890 while making taffy, adding baking soda instead of cream of tartar. That story may be folklore, not established history. The old-fashioned origin story is charming, but the real pleasure is sharing a batch made at home.
Key Takeaways
- Prep takes 5 minutes; cooking takes 25 minutes.
- Plan for about 1 hour, including cooling.
- One batch makes about 1 pound, or 12 servings.
- A candy thermometer helps you reach the right texture.
- Pack the cooled candy in tins or cookie boxes.
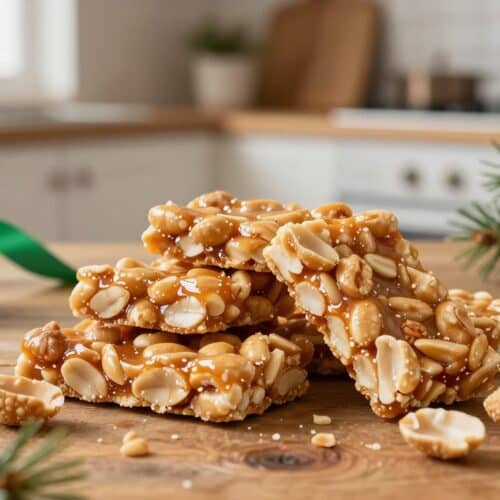
Classic Peanut Brittle
Ingredients
- 1 cup granulated sugar
- 1/2 cup light corn syrup
- 1/4 cup water
- 1/4 teaspoon salt
- 1 1/2 cups salted roasted peanuts
- 2 tablespoons unsalted butter softened, plus a little extra for greasing the pan
- 1 teaspoon vanilla extract
- 1 teaspoon baking soda
Instructions
- Butter a large rimmed baking sheet generously (or line with a silicone mat) and set it near the stove. Measure out the peanuts, butter, vanilla, and baking soda and keep them within reach.
- In a heavy 2-quart saucepan, combine the sugar, corn syrup, water, and salt. Stir together.
- Cook over medium heat, stirring occasionally, until the sugar dissolves and the mixture comes to a boil.
- Clip a candy thermometer to the pan, tip in the syrup but not touching the bottom.
- Continue cooking, stirring occasionally, until the thermometer reads 240°F (115°C), the soft-ball stage.
- Stir in the peanuts. Keep cooking, stirring frequently, until the thermometer reads 300°F (150°C), the hard-crack stage, and the mixture is deep golden amber, about 10 to 15 minutes.
- Remove from the heat. Quickly stir in the butter and vanilla until the butter melts.
- Add the baking soda and stir just until combined. The mixture will foam up vigorously.
- Immediately pour onto the prepared baking sheet and spread as thin as possible with a greased spatula. Never touch it with your fingers — the syrup is extremely hot.
- Let cool completely at room temperature, about 30 minutes, until hard and glassy.
- Break into pieces. Store airtight at room temperature up to 2 weeks, with parchment between layers.
Notes
Classic Peanut Brittle Ingredients and Prep
For roughly one pound of brittle, measure the eight ingredients and prepare the pan before you heat the syrup. A heavy-bottomed 2-quart saucepan heats the sugar mixture more evenly and helps prevent hot spots.
Keep the prepared tray near the stove before cooking begins. The candy moves fast at the end, so clearing space or searching for a tool can leave you rushed.
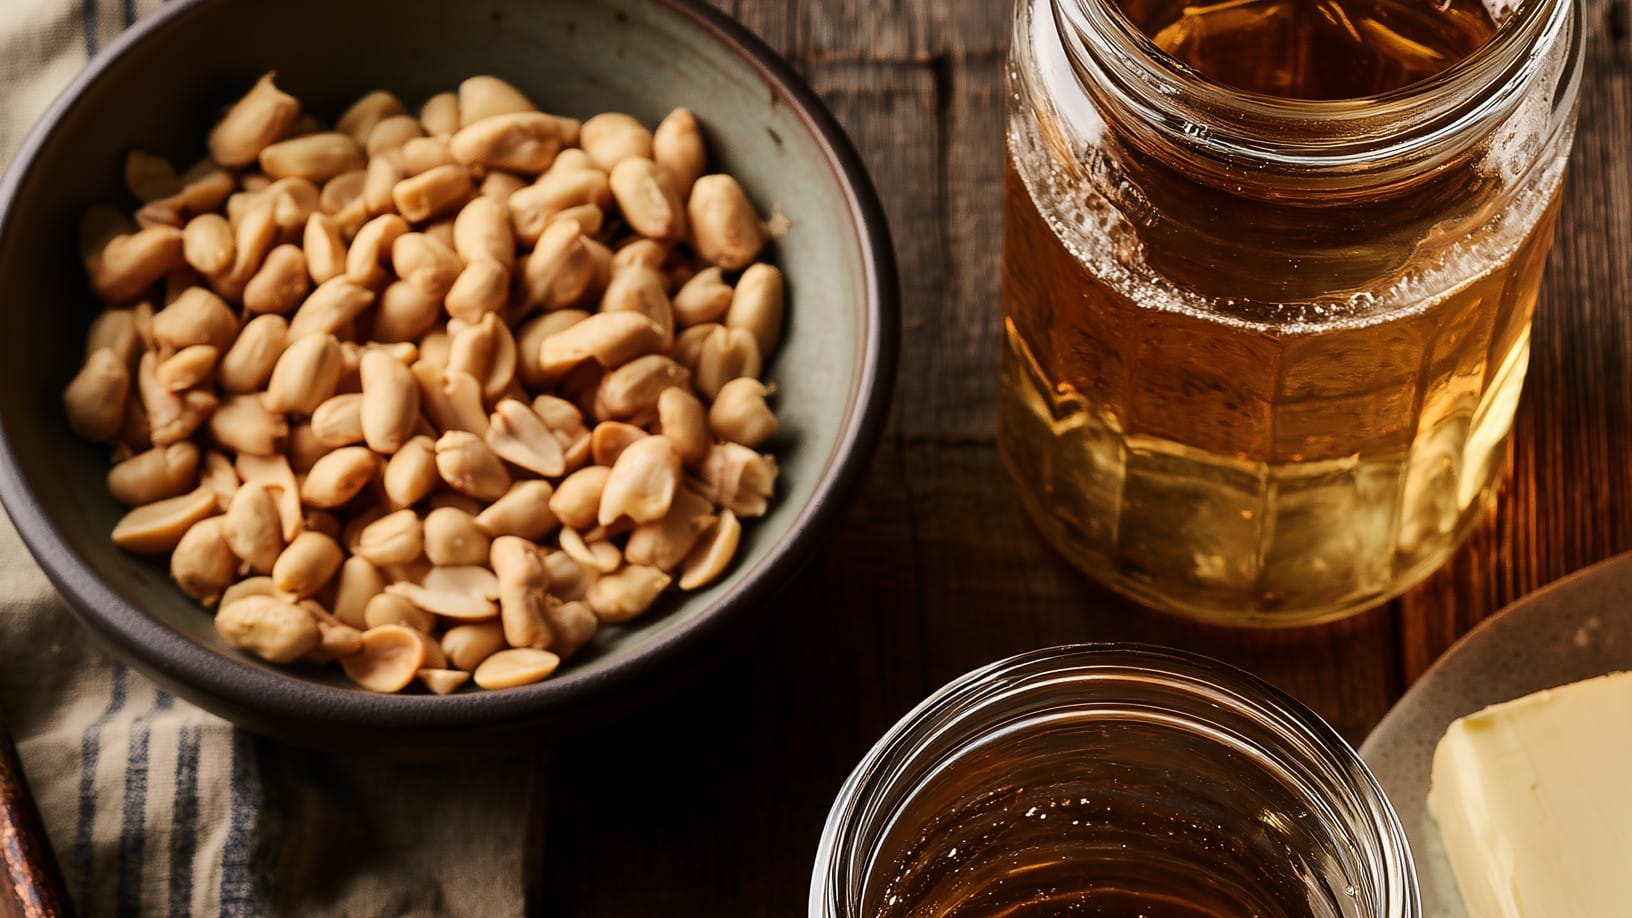
Set the prepared tray within reach before heating; the candy cannot wait while you clear a counter.
Ingredients for about one pound
| Ingredient | Amount | Prep or use |
|---|---|---|
| Granulated sugar | 1 cup | Measure before cooking |
| Light corn syrup | 1/2 cup | Measure before cooking |
| Water | 1/4 cup | Measure before cooking |
| Salt | 1/4 teaspoon | Measure before cooking |
| Salted roasted peanuts | 1 1/2 cups | Keep within reach |
| Unsalted butter, softened | 2 tablespoons, plus extra | Soften; use extra to grease |
| Vanilla extract | 1 teaspoon | Keep within reach |
| Baking soda | 1 teaspoon | Keep within reach |
Set up before heating the syrup
Roasted peanuts bring a deeper nutty taste than raw peanuts. If you only have raw peanuts, roast them at 350°F for about 10 minutes, until golden and aromatic.
Generously butter a large rimmed baking sheet or line it with a silicone baking mat. Set it near the stove, then measure the peanuts, butter, vanilla, and baking soda and keep them within reach.
Measure the sugar, corn syrup, water, and salt, too, so every ingredient is ready before the syrup cooks. You can use the extra butter to grease the sheet or a spatula. Let the butter soften while you measure the other ingredients so it melts quickly when needed.
Cook the Syrup and Peanuts to the Right Temperature
A candy thermometer gives you precise stopping points for the two temperatures that determine the brittle’s texture. The soft-ball stage is syrup at 240°F (115°C), before you add the peanuts.
The hard-crack stage is 300°F (150°C), when the cooked candy will set crisp. This classic stovetop method makes an easy peanut brittle recipe, with thermometer-controlled heat instead of a guess at doneness.
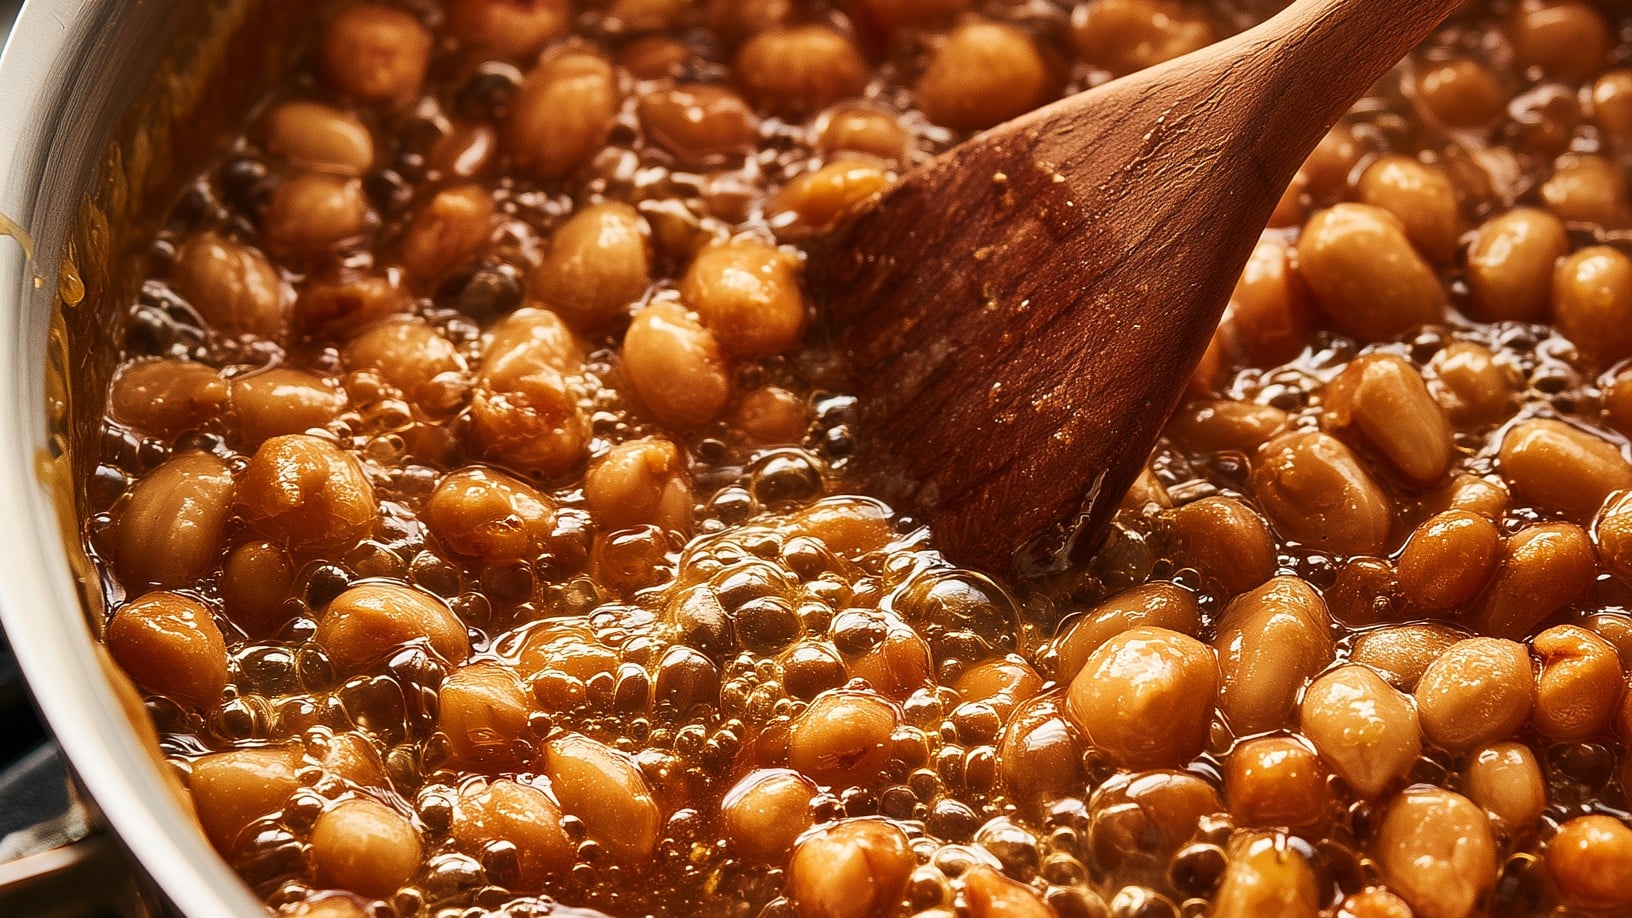
A candy thermometer is essential because guessing the temperature is the main reason brittle turns chewy or burnt. Hot sugar syrup can cause serious burns, so keep children and pets out of the kitchen, use a long-handled spoon, and never taste or touch the syrup.
Dissolve the sugar and reach 240°F
- Combine the sugar, corn syrup, water, and salt in the heavy 2-quart saucepan, called the pan here. Stir with a long-handled wooden spoon or heatproof spatula.
- Cook over medium heat, stirring occasionally, until the sugar dissolves and the mixture boils.
- Only after the syrup boils, clip the candy thermometer to the pan. Keep its tip in the syrup without touching the bottom, then cook with occasional stirring to 240°F (115°C).
Add the peanuts and cook to 300°F
- Stir in the peanuts and cook, stirring frequently to prevent scorching, until the thermometer reads 300°F (150°C) and the mixture turns deep golden amber.
Cooking after you add the peanuts takes about 10 to 15 minutes. The mixture can burn quickly near the end, so stay at the stove and watch its color as the reading climbs.
A best peanut brittle recipe for a classic result depends on this steady stovetop method and an accurate thermometer, not a claim that one version suits everyone. Keep the thermometer reading as the stop point and use the deep golden-amber color as a visual cross-check.
Finish, Spread, and Cool the Brittle
As soon as the pan leaves the heat, butter and vanilla go in first, followed by the baking soda. Work quickly because the hot mixture begins to set as it cools.
The baking soda makes the mixture foam vigorously, creating the airy crunch in a fluffy peanut brittle recipe. Stir just until combined; the foam helps make each piece light and crisp.
Use this three-part handling checklist to spread the candy safely:
- Pour the hot brittle onto the prepared tray immediately.
- Use a greased spatula to spread it as thinly as possible, working quickly.
- Keep your fingers off the extremely hot syrup.
Hot syrup can cause serious burns through contact, and the finished candy stays dangerously hot until it cools. Let the brittle rest at room temperature for about 30 minutes, until it feels hard and looks glassy.
Break the cooled sheet by hand or tap it with the handle of a knife. If a few pieces are too large for a tin, a gentle tap can split them without crushing the whole batch. A thinner layer produces smaller shards that are easier to pack into a tin.
Troubleshooting, Storage, and Holiday Gifting
A dry day is the best starting point for crisp brittle because humidity can make the cooled candy sticky. Low humidity helps the pieces keep their snap after they leave the tray.
Moisture in the air can leave brittle soft and tacky instead of crisp. Choose a dry day when you can, especially if you plan to wrap the candy as a gift.
Moisture in the air can leave brittle soft and tacky instead of crisp.
Why brittle turns sticky or chewy
Sticky brittle often points to damp air, while a chewy bite usually means the syrup did not reach its full cooking point. If your batch is chewy, cook the next one to 300°F for crisp candy.
These tips for making peanut brittle can help you spot the cause before starting another batch. Check that the candy thermometer works and sits in the syrup, not against the pan bottom. A clear reading helps you avoid stopping early or cooking past the crisp stage.
Keep the work area ready, too. The mixture changes quickly near the finish, and a prepared tray leaves you free to focus on the candy instead of moving kitchen items.
Store and pack the cooled pieces
Store peanut brittle in an airtight container at room temperature for up to 2 weeks. Place parchment paper between layers so the pieces stay separate and do not scrape against each other.
Holiday tins and cookie boxes make easy gifts for hosts, neighbors, and family. Put parchment paper between the brittle and the container, then add another layer between stacked pieces. For a mixed treat box, pair the candy with peanut butter strawberry jam cookies for a soft, chewy contrast.
Choose a snug container that limits shifting during a short trip. A few larger shards can sit along the sides, while small pieces fill the center.
An old-fashioned holiday tradition
Peanut brittle became a household favorite in the South and beyond. Its popularity spread across the United States in the early 20th century as peanut farming grew and peanuts became more affordable and common in recipes.
By the mid-1900s, homemade brittle had become a holiday tradition for many American families. The tale of its accidental invention in the South around 1890 may be folklore, but it remains a charming part of the candy’s story.
January 26 is National Peanut Brittle Day, another reason to share a batch outside the holiday season. Set out the holiday tins or cookie boxes before making a batch so the cooled pieces are ready to pack.
Conclusion
With the ingredients ready and the thermometer at hand, a first batch of this classic candy is within reach. Careful temperature control and a little prep make the old-fashioned recipe feel far less tricky than its glossy finish suggests.
You do not need special candy-making skills to get started. Keep the tools close, follow the thermometer, and give the candy time to cool before you break it. The first batch may leave you with a few odd-shaped shards, but those are still good for sharing.
Choose a holiday tin or cookie box and decide who gets the first pieces.